- Description
-
Product Description
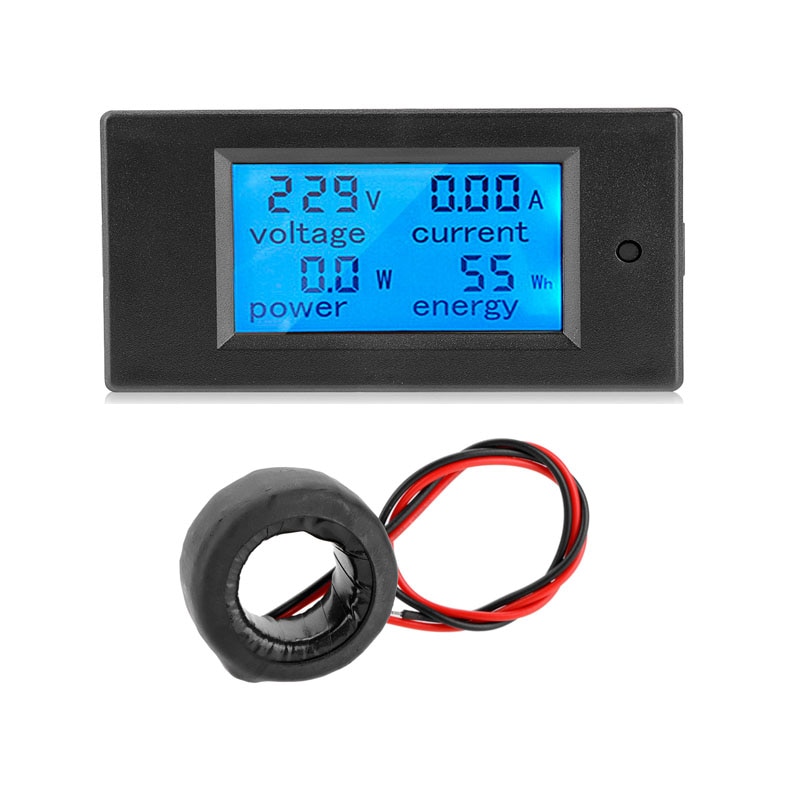
Multimeter Digital Electricity Reader
Multimeter devices are handy tools that electricians use to measure various electrical properties. It is not only for professional but also for DIY advocates and those who work with electricity as a hobby or project. When in need of a reliable reader, do for the Multimeter Digital Electricity Reader!
Learn It, Love It!
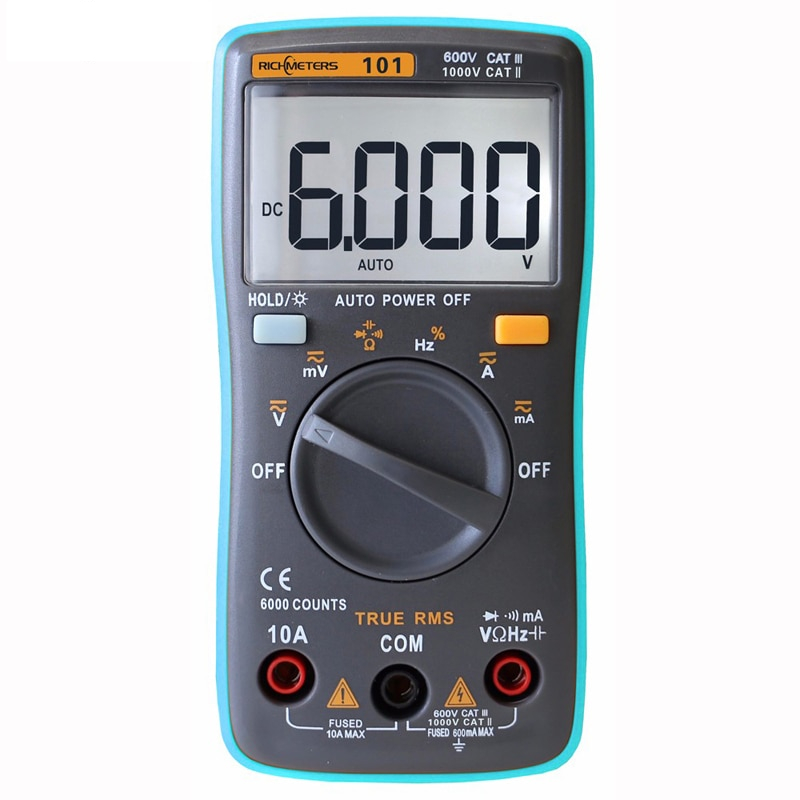
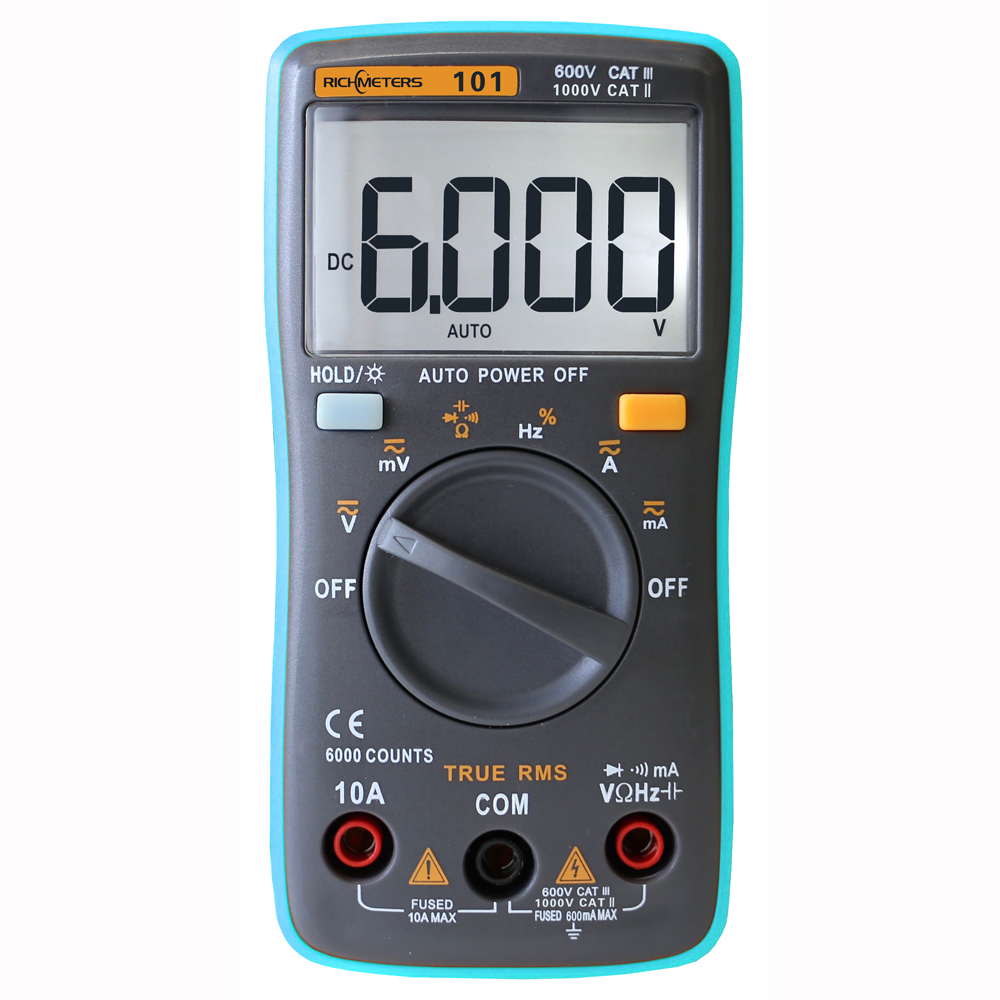
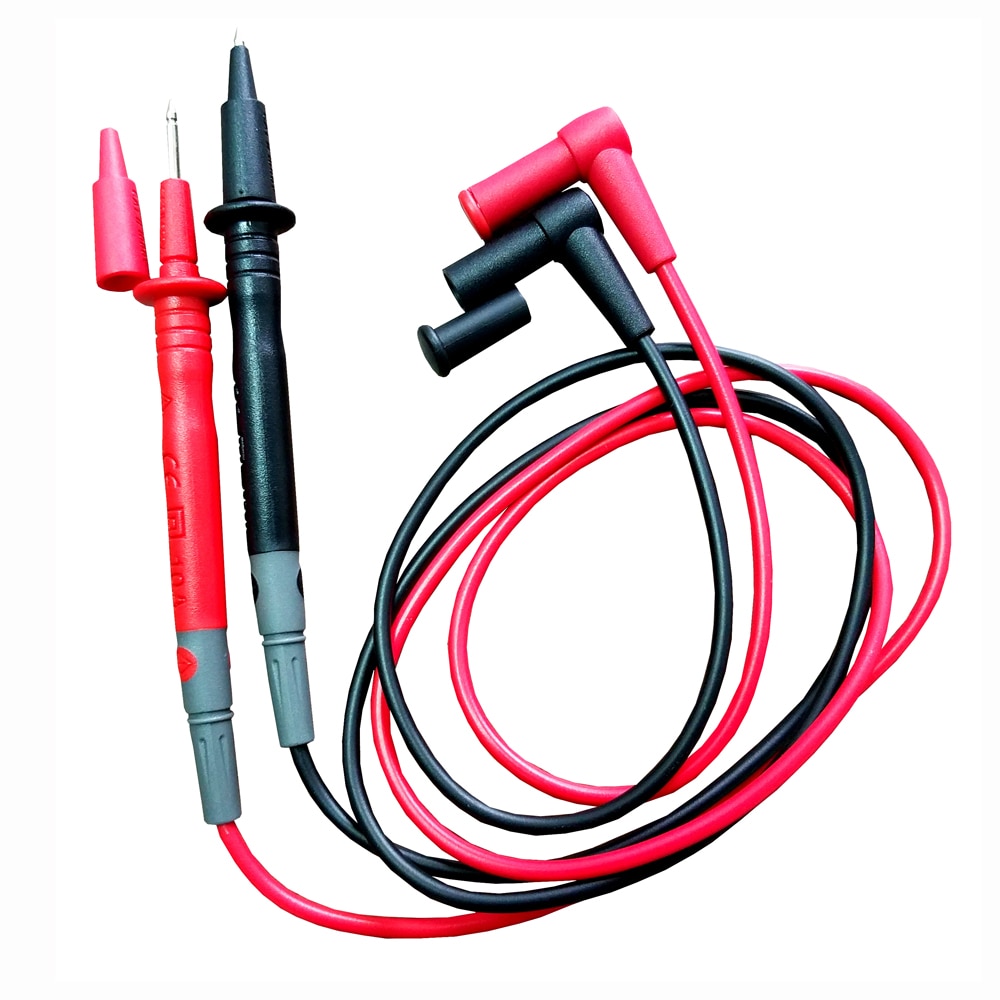
Sometimes hiring a professional does not fit within the budget. This digital multimeter is made to make readings clear and understandable. Some can read analog multimeters, but for the Average Joe not trained to do so, the Multimeter Digital Electricity Reader makes it easy because it displays the readings in figures in contrast to analog models. This multimeter measures the current, voltage, and resistance among others when diagnosing circuits. It is also valuable when testing batteries, and analyzing various electronic designs. The Multimeter Digital Electricity Reader features three different parts: the LCD, the selection knob, and ports. It comes with test probes that you can connect to circuitry to analyze electric current flow. For the convenience of non-professionals, it also has auto-ranging that saves them trouble in finding out the value of the range of these electrical properties.
How To Use The Multimeter Digital Electricity Reader
Depending on the electrical value, there are different ways to use this digital multimeter. Almost all multimeters function the same way.
To measure resistance:
- Take the test probes and insert the black probe at the COM (common) port and the red probe to the VΩHz side.
- Use the selector knob and twist the Omega sign (Ω) to set up the multimeter to read resistance.
- Make sure that the circuit’s power is OFF to prevent electrocution. Remove the resistor to get an accurate reading.
- Touch the ends of the probes to each end of the resistor and the multimeter will display the value in ohms.
To measure voltage:
- With the test probes connected to the same ports, you can measure the direct current DC, and alternating current (AC).
- Since this device has auto-ranging, there’s no need to select the valuer of voltage.
- Place the end of the probes at a component, for example, a wall socket to get the multimeter to display the measurement. In this case, polarities are not necessary.
- When testing a battery, the black probe should touch the negative end (-) while the red probe should connect to the positive side (+).
To measure current:
- The black probe should connect to the COM port while the red probe must be at the 10A port.
- Twist the knob selector to the side marked with A.
- Make sure first to turn OFF the circuit you’ll be working on.
- Touch the probes to the break of the circuit. The polarity must be correct: the black probe to the negative side (-) and the red probe to the positive (+).
- Turn the circuit’s power ON. The current will flow through the probes.
- The display will show amp or milliamp depending on what you’re reading. You may use the HOLD button to give you time to record.
WRITE YOUR OWN REVIEW

